
I was sitting at my kitchen table with the BF and friends staying the night with us, all working on our laptops and sharing a bottle of wine. I was struggling with what to write for this post, so I said, “Finish this sentence: Pimento cheese is as Southern as…”
I got a lot of inappropriate answers that are probably best not to share here. Let’s just say that the bottle of wine really had the jokes flowing.
I actually thought I hated pimento cheese. I am a North Carolina native, a Tar Heel born and bred, but my family isn’t particularly Southern, more just a typical suburban American family. And I grew up in a part of North Carolina where I went to school mostly with transplant kids, from places like New York, New Hampshire, India, and China.
So pimento cheese… This was not a thing my mom made. I’d only ever had store-bought stuff, which is super nasty. The pre-shredded “cheese product” tastes more like wax than cheddar, and there’s always wayyy too much mayonnaise. Nasty. But I tasted a gourmet pimento cheese at a friend’s a few months ago, and I started to reconsider. It wasn’t perfect, and it still had too much mayo, but it was good enough that it got me thinking. So I decided to make my own.
I researched recipes for a long time, trying to figure out what I would like. I ended up going off on my own thing because I couldn’t find anything that sounded good.
But after trying some of this… goodness, it was so delicious! I mean, I ate so much cheese. So much cheese. You can’t really tell scale from that first picture, but that’s a HUGE bowl.
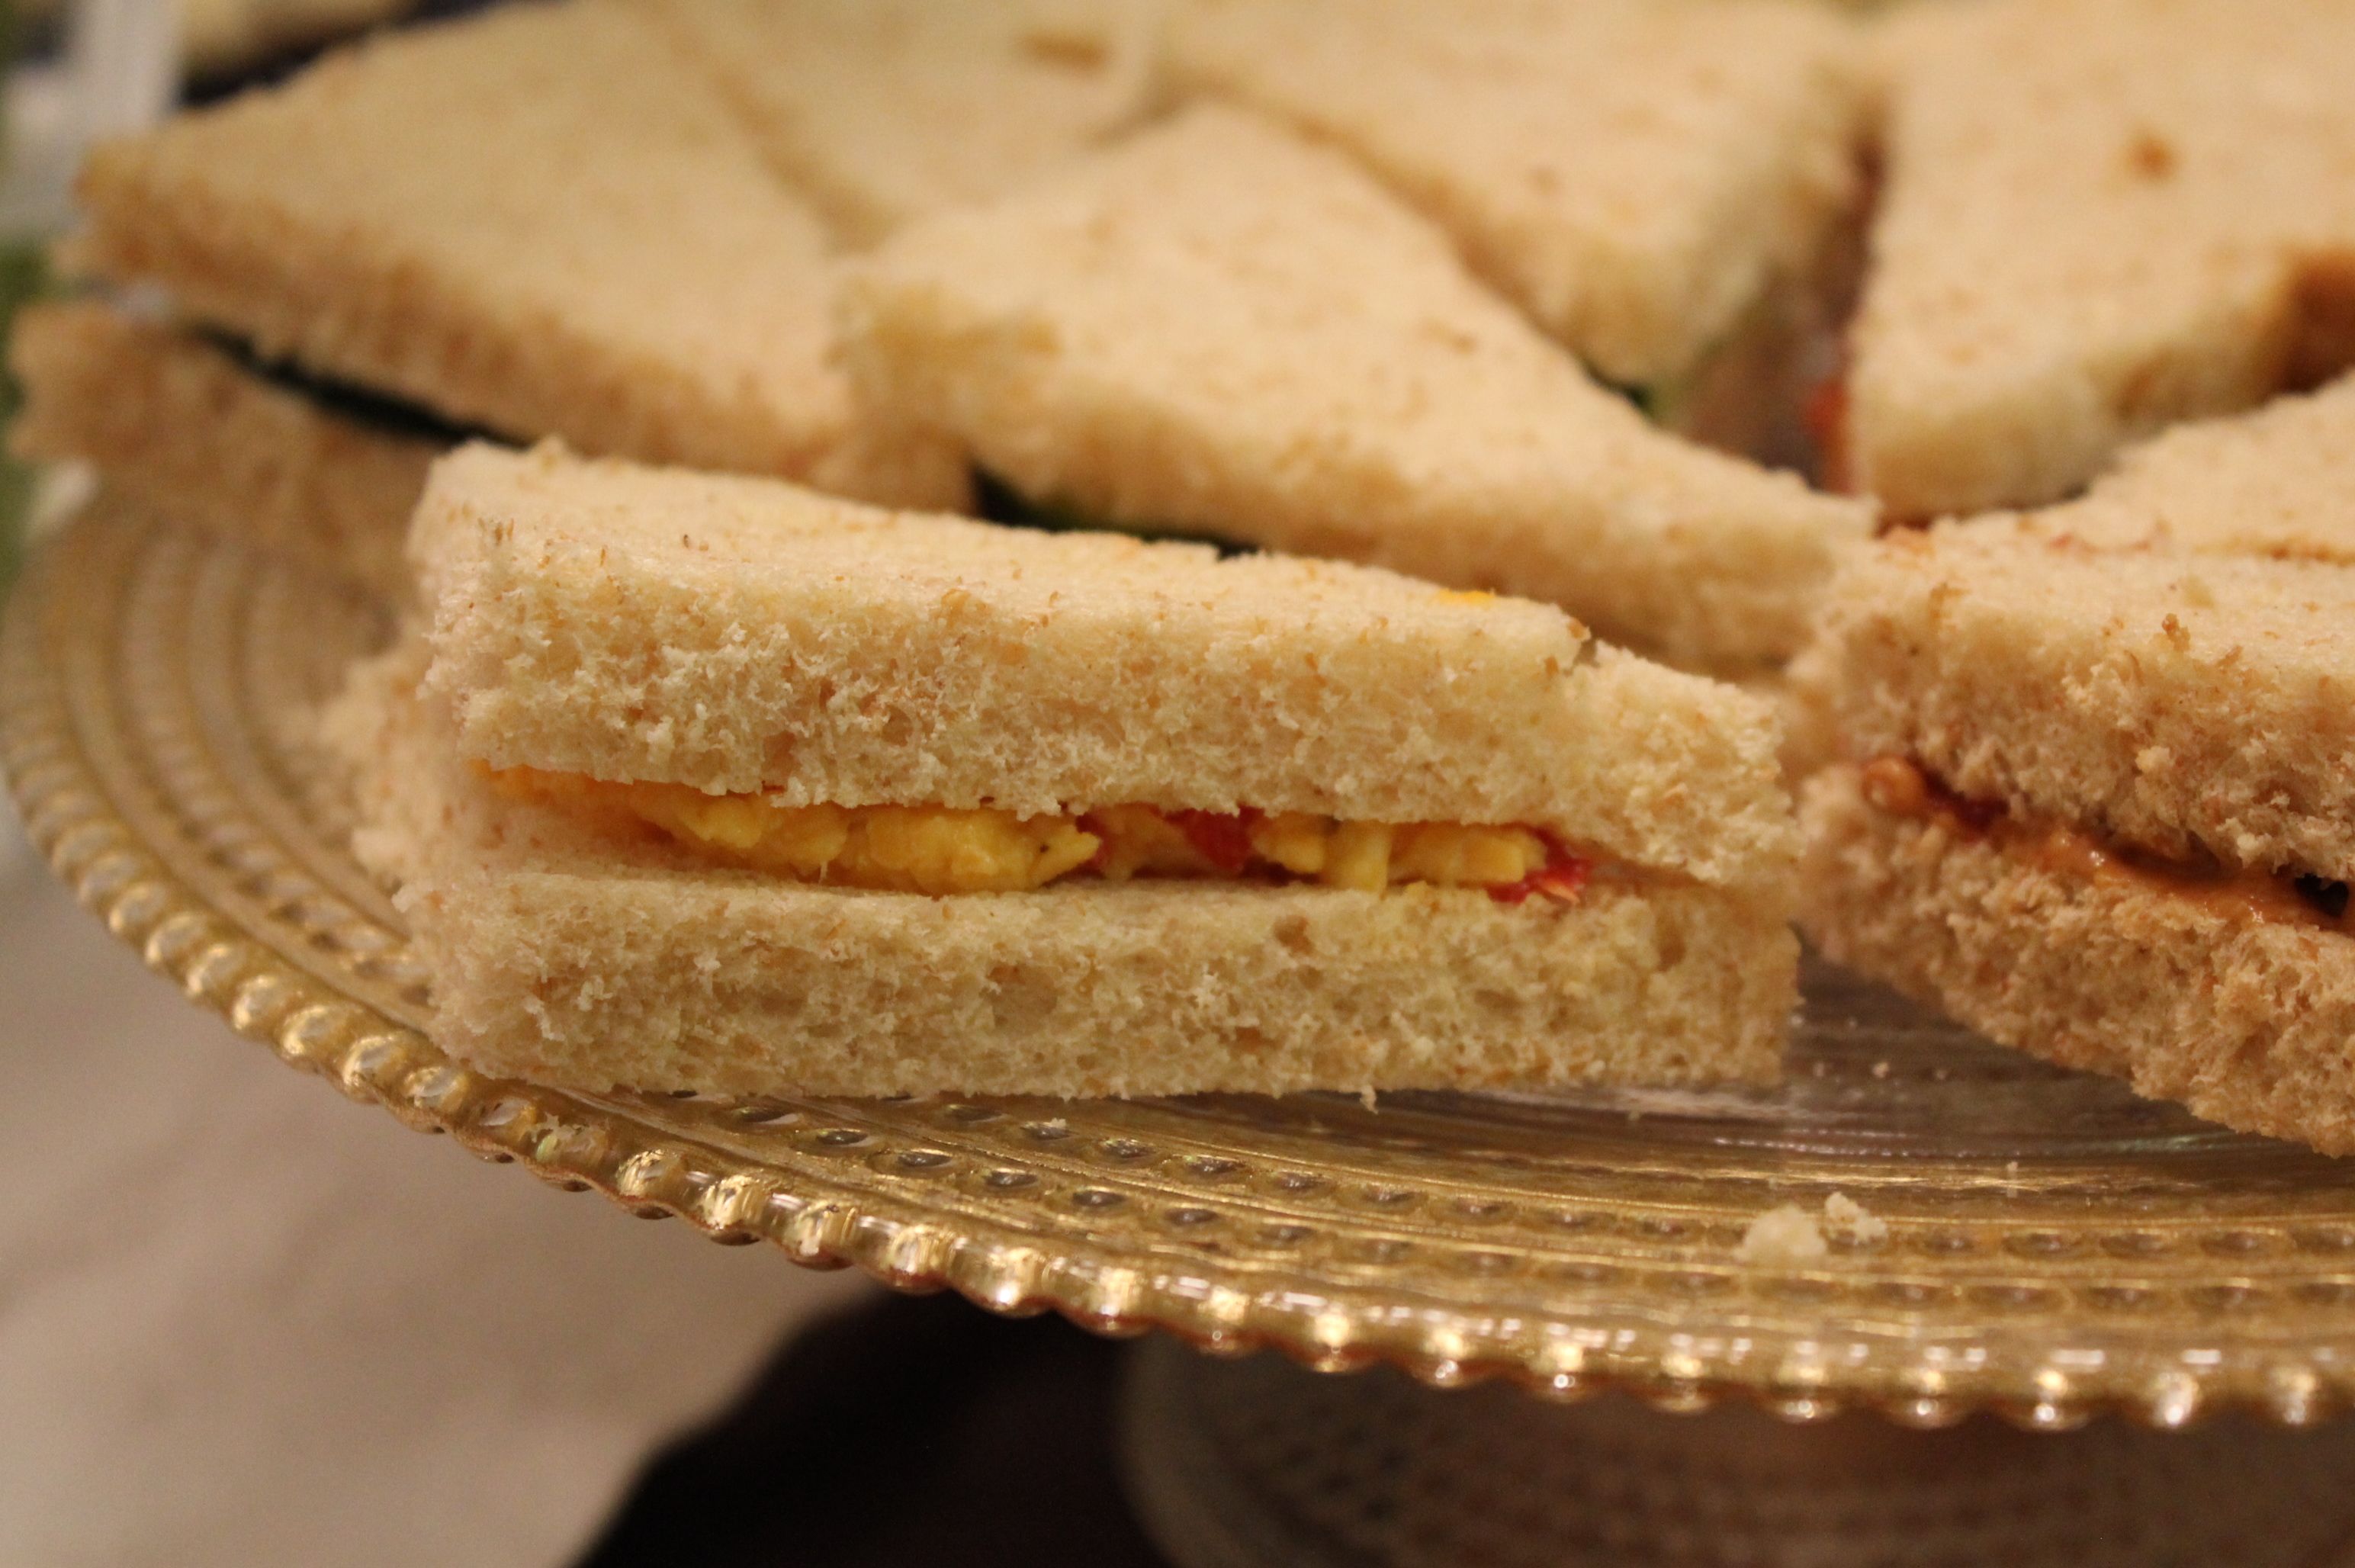
For book club, we’d read I Capture the Castle, a lovely coming-of-age story about a teenage girl living in genteel poverty in England. So to keep with the theme, we made tea party food: tea sandwiches, quiche, fruit salad, scones. I made three varieties of tea sandwiches: cucumber and cream cheese, peanut butter and raspberry jelly, and — the club favorite — pimento cheese. It was a lovely English/Southern fusion, and I highly recommend it. The pimento cheese was so popular that after we polished off all the little sandwiches, I set out the bowl of leftovers and some crackers, and we went to town on that too!

A little note on the recipe: the cheddar is my favorite part, and if that’s yours too, you might consider changing your cheese ratio to 1 lb cheddar and 1/2 lb colby jack. The cheddar is definitely a requirement, but you also might consider swapping out the colby jack for another favorite cheese — maybe a pepper jack for a bit more kick, or maybe a creamy monterey jack. Oh! Another requirement: take the time to grate fresh cheese yourself. Waxy, flavorless, pre-shredded cheese is NOT allowed in my house.
Pimento Cheese
3/4 lb extra sharp cheddar, grated
3/4 lb colby jack, grated
1 (4 oz) jar pimentos, drained
1/2 tsp powdered garlic
1/2 tsp black pepper
pinch cayenne
3 T mayo
In a small bowl, stir together the mayo and spices. Add the pimentos.
In a large bowl, add the grated cheese. Carefully stir the mayo and pimento mixture into the cheese.
Linking Up With:
Funday Monday from Still Being Molly
Block Party from Hungry Happenings
Made by you Monday from Skip to my Lou
Inspiration Monday from Twelve O Eight
Time to Sparkle from Love Grows Wild
Wonderfully Creative Wednesday from All She Cooks
Create It Thursday from Lamberts Lately
Life of the Party from The Grant Life
All Things Pretty from My Fashion Foward Blog
City of Links Party from City of Creative Dreams


 Supplies:


 \
\


